

This is the story about a Mamma-scrapper (me) who really, really wanted to make a scrapbook page with the ultrasound printouts which always seem to live in a “baby box” somewhere. I also had some really cute little 6×6″ papers from an American Crafts 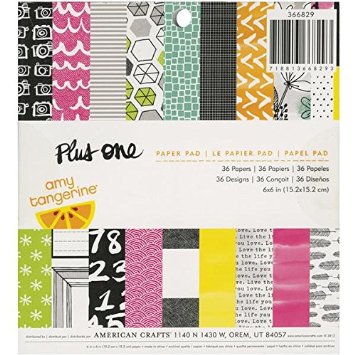 Amy Tangerine “Plus One” paper pad … but they were so cute, I didn’t want to cut them. I wanted to show them off as much as possible.
I’m getting ahead of myself though…
The story starts back in January 2015. Our precious little baby #3 was just 8 months old and I found out we were unexpectedly-expecting baby #4. I actually didn’t get the courage to tell my husband for a whole week … and only managed to blurt it out when he stumbled across the first ultrasound picture on the page showing I was already 8 weeks along. Oops. So whilst little miss baby #4 is extremely well loved today and is nothing short of a ray of joyful sunshine in our lives …. we spent most of 2015 being somewhat freaked out at being caught so unawares.
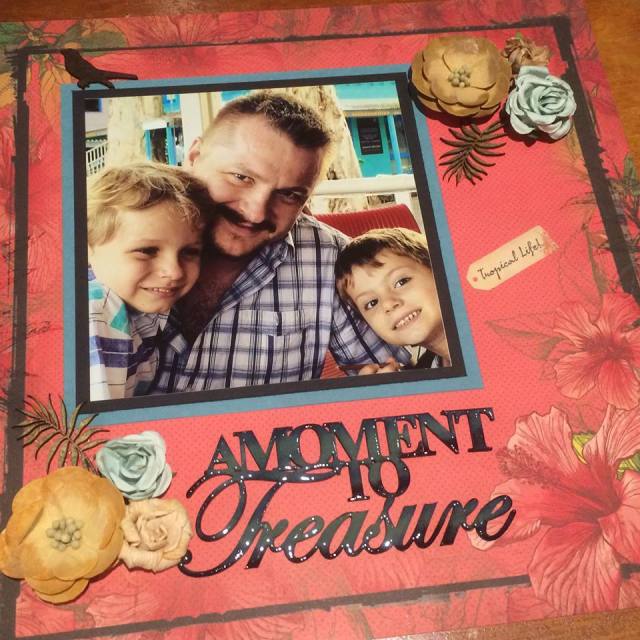
So that explains the title of this scrapbooking page. I hope.
As with most of my projects, I started by going through my incredibly immense stash and put together a collection of various pieces that coordinated with my choice of papers. A kind-of “Mood Board”, which in actual fact was just a smeared sea of pink, yellow, and black across my craft desk.
A black cardstock background was the best way to make the lovely bright colours from the printed papers really stand out, and from there I chose a natural hessian stick-on flower I picked up at a local $2 store (there were 6 in the pack and they appear in a few of my projects) … a printed polaroid frame from Pink Paislee “Secret Crush” collection … A wooden bird from Kaisercraft which I left raw … some random washi tape … some yellow enamel dots from the Snap Life Documented collection … and a chipboard heart flourish from Australian company Words or Whatever.

The chipboard heart flourish was coated first with some basic white Gesso from my local $2 store. Then I painted over it with Viva Decor Precious Metal paint in a pink shade. I also added some Kaisercraft rhinestones to bling it up a bit for my little princess-to-be.
The alpha stickers are a mix of American Crafts Thickers (in two different pink designs) and some alphas taken from an old BoBunny Press collection. I also added a “Precious” definition rub-on from Kaisercraft to finish it off. The word “love” was already printed on the pink paper square and I just traced around it with a black fine tip pen.
It’s important to let those little things you really love in your collection …. like a certain photo, or pieces of paper like I have here …. guide how you structure your page. I really loved these patterned papers and it was the key driver behind my layout. These pages you create are memories. They are designed to be looked back on in years to come. They don’t have to look perfect … they just have to look meaningful to you and bring you joy both during and after their creation. So that’s why you want to make sure your favourite pieces, the things you really love the most, take centre stage. You will love them all the more when you open up your scrapbooks again and thumb through them.
Once again, I do prefer my fairly simple & uncluttered style of scrapbooking. I’m sure the professional bloggers could have layered this page up so that it wound up weighing roughly the same as my precious newborn …. but beginners should find these kind of clean lines refreshingly easy to emulate in their own crafty corner. The layering can come later if you so desire.
Remember also (beginners out there) that you want to see a “Z” and TRIANGLES across your page. Here, you can see a Z if you start from the top left corner, go across right, down diagonally left through the “love” and chipboard heart in the middle, and back right again through the ‘surprise’ title. There is a triangle formed with the hessian flower, bird, and heart elements. And there is also harmony in the balance of the “love” word outlined in the middle of the 4 photos square. These Z’s and Triangles indicate balance and flow in your layout.


You must be logged in to post a comment.